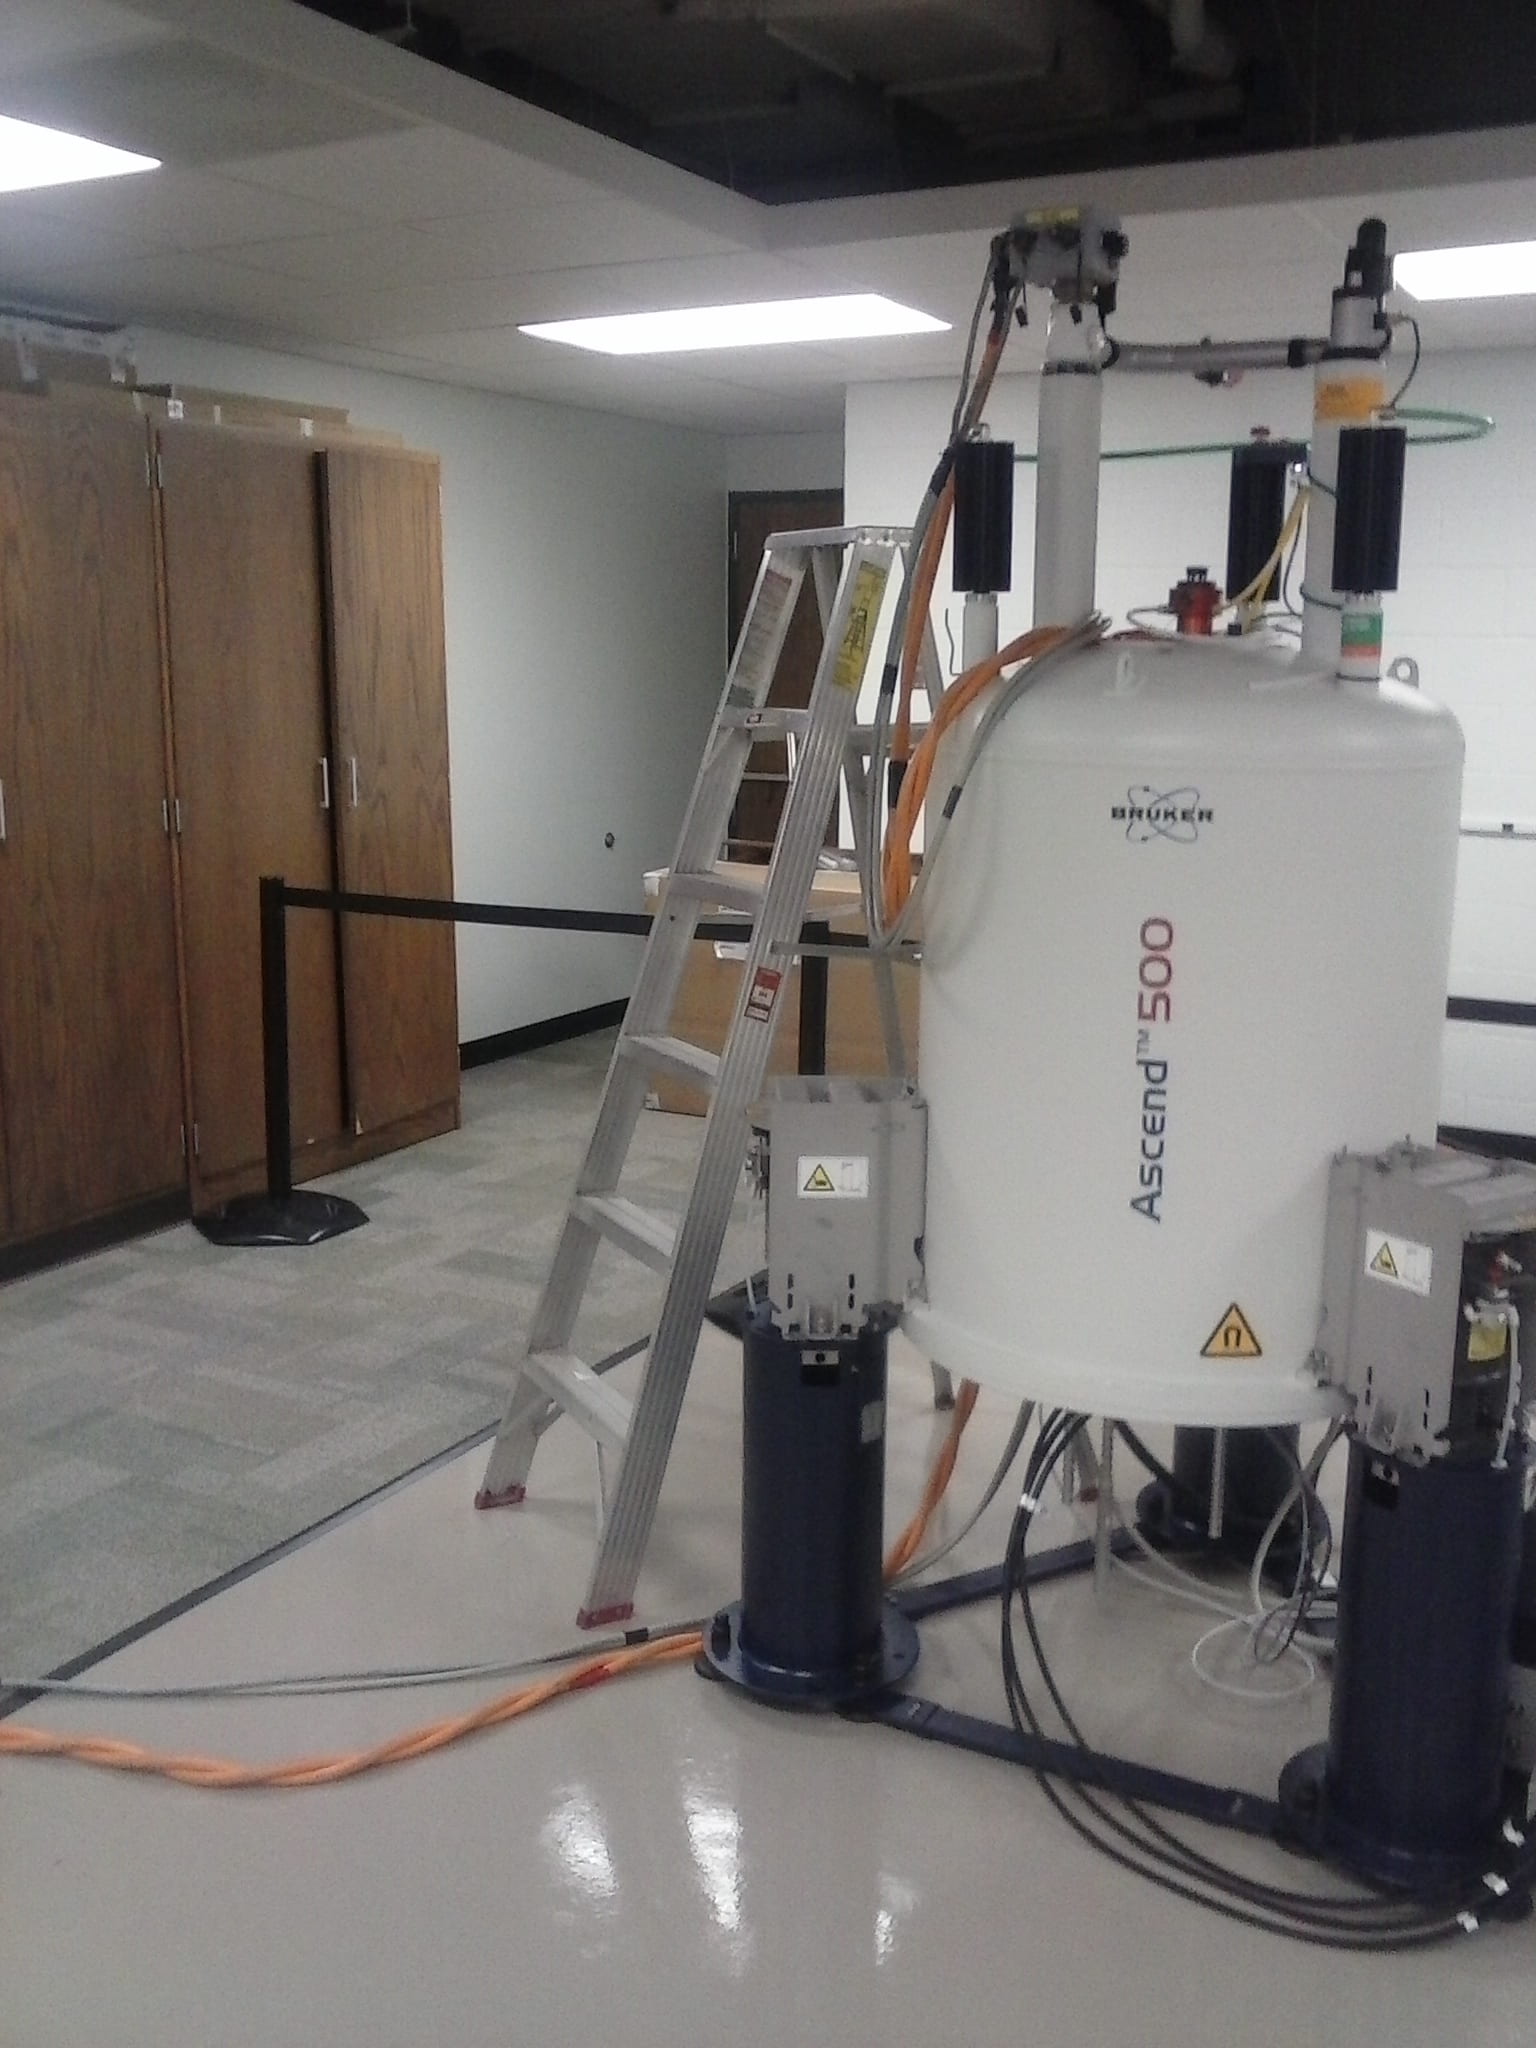
The new 500 MHz instrument is being installed. View pictures of the installation.

Magnet is lowered onto its stand

The Helium Can is still visible
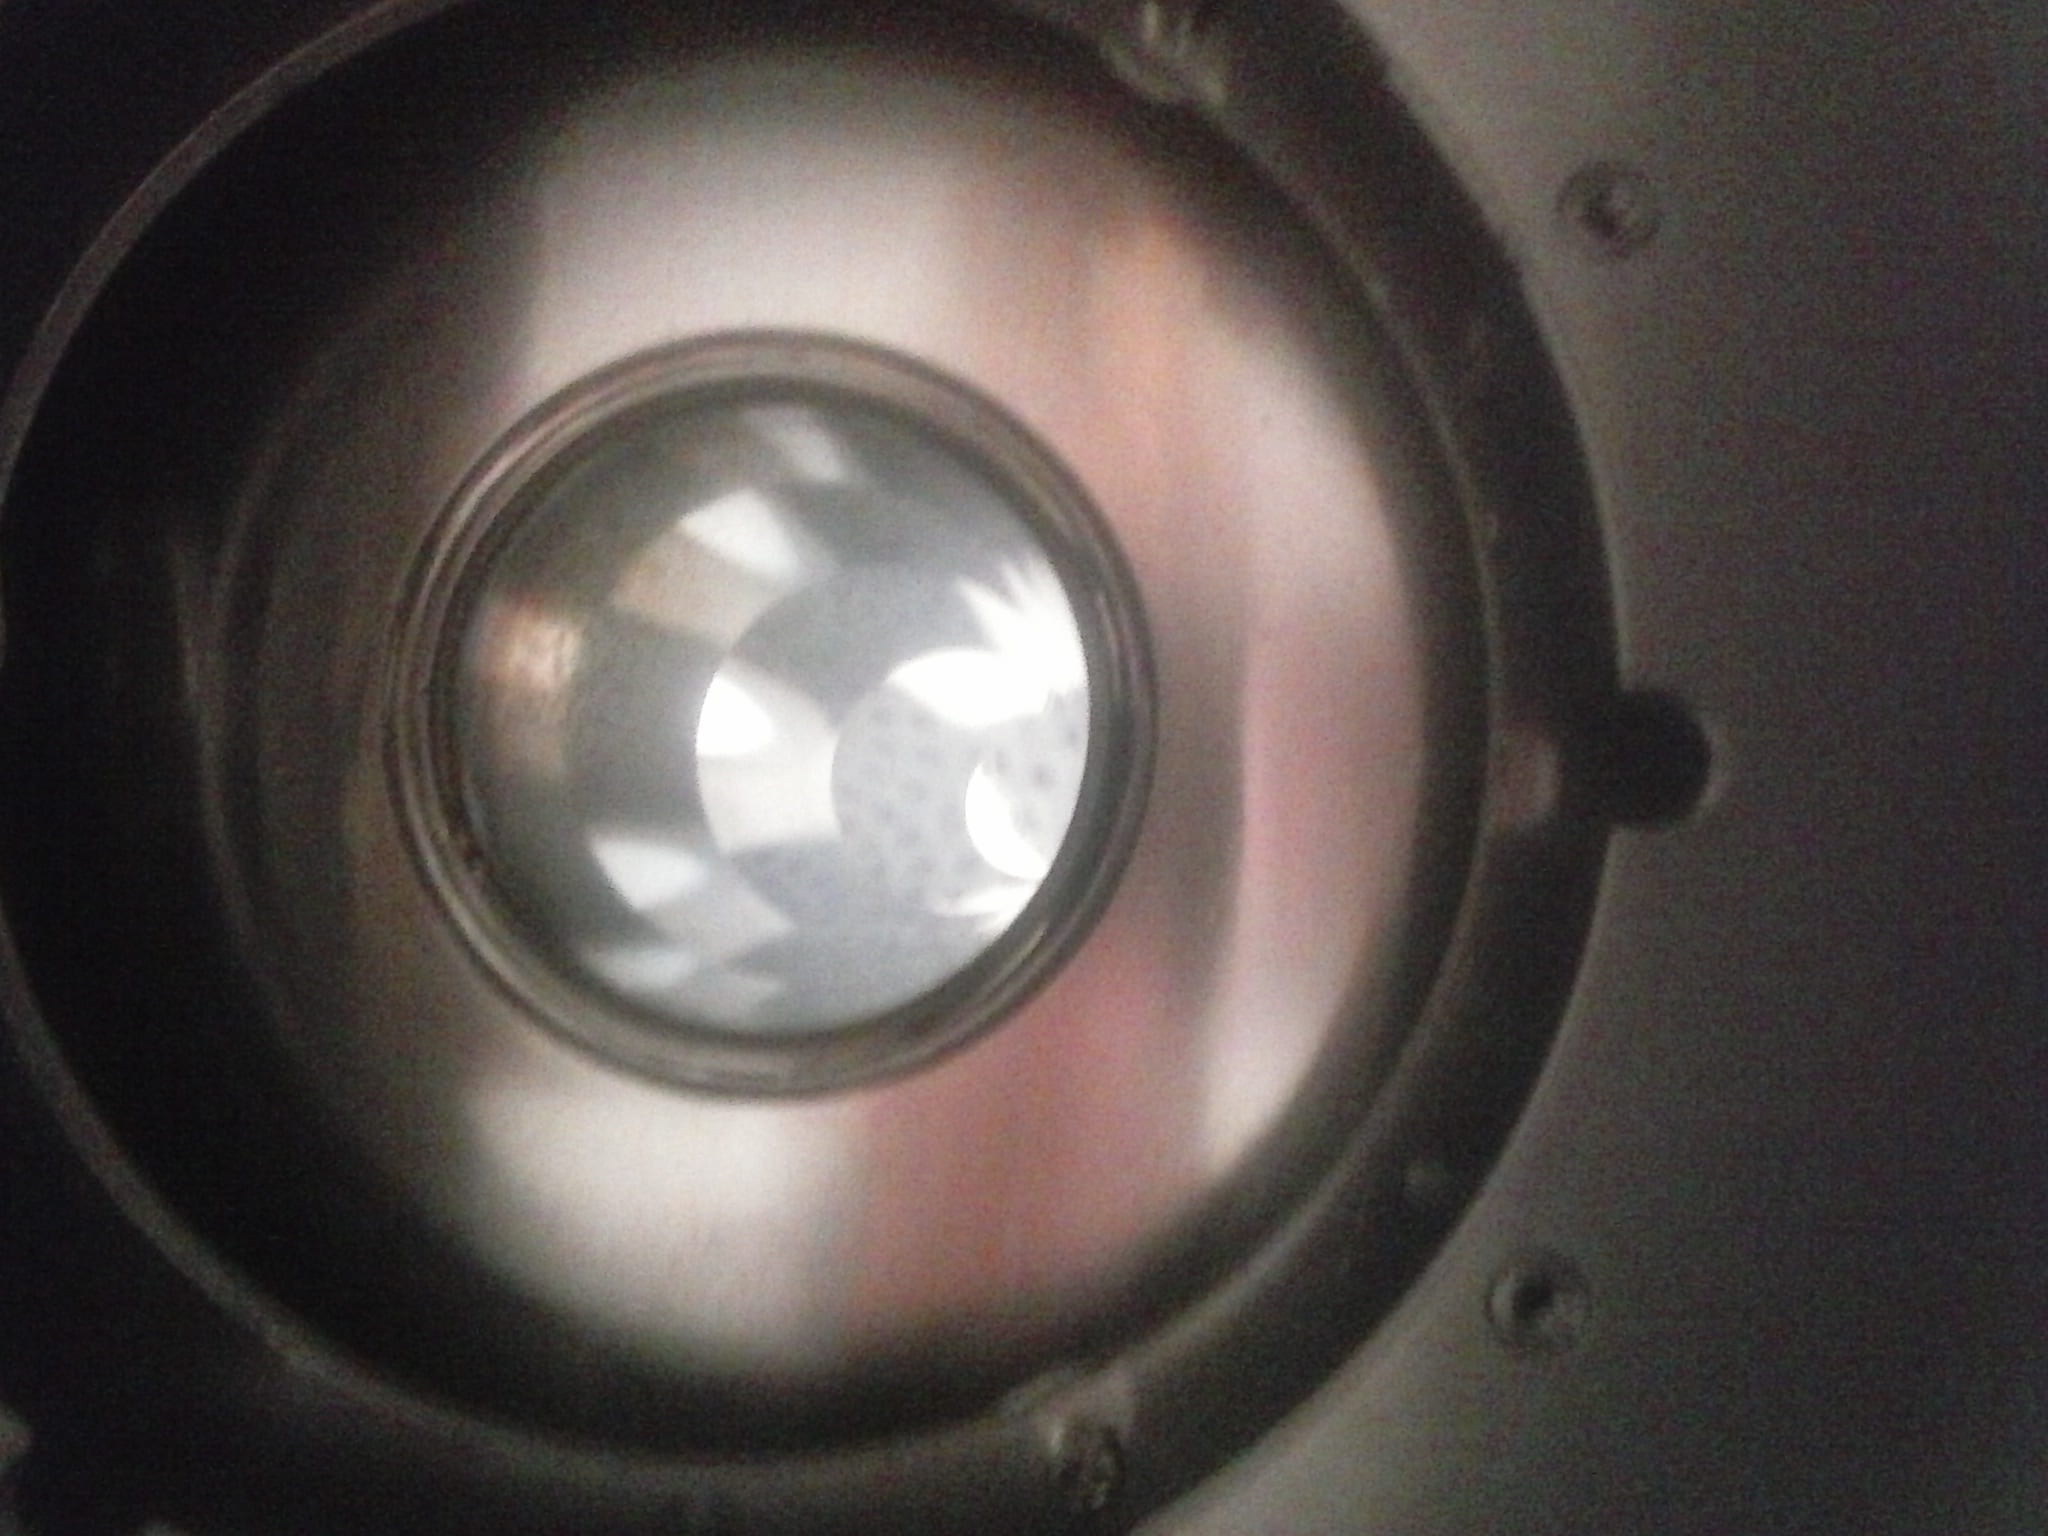
View through the bore without shim stack

Nitrogen and Helium can from top
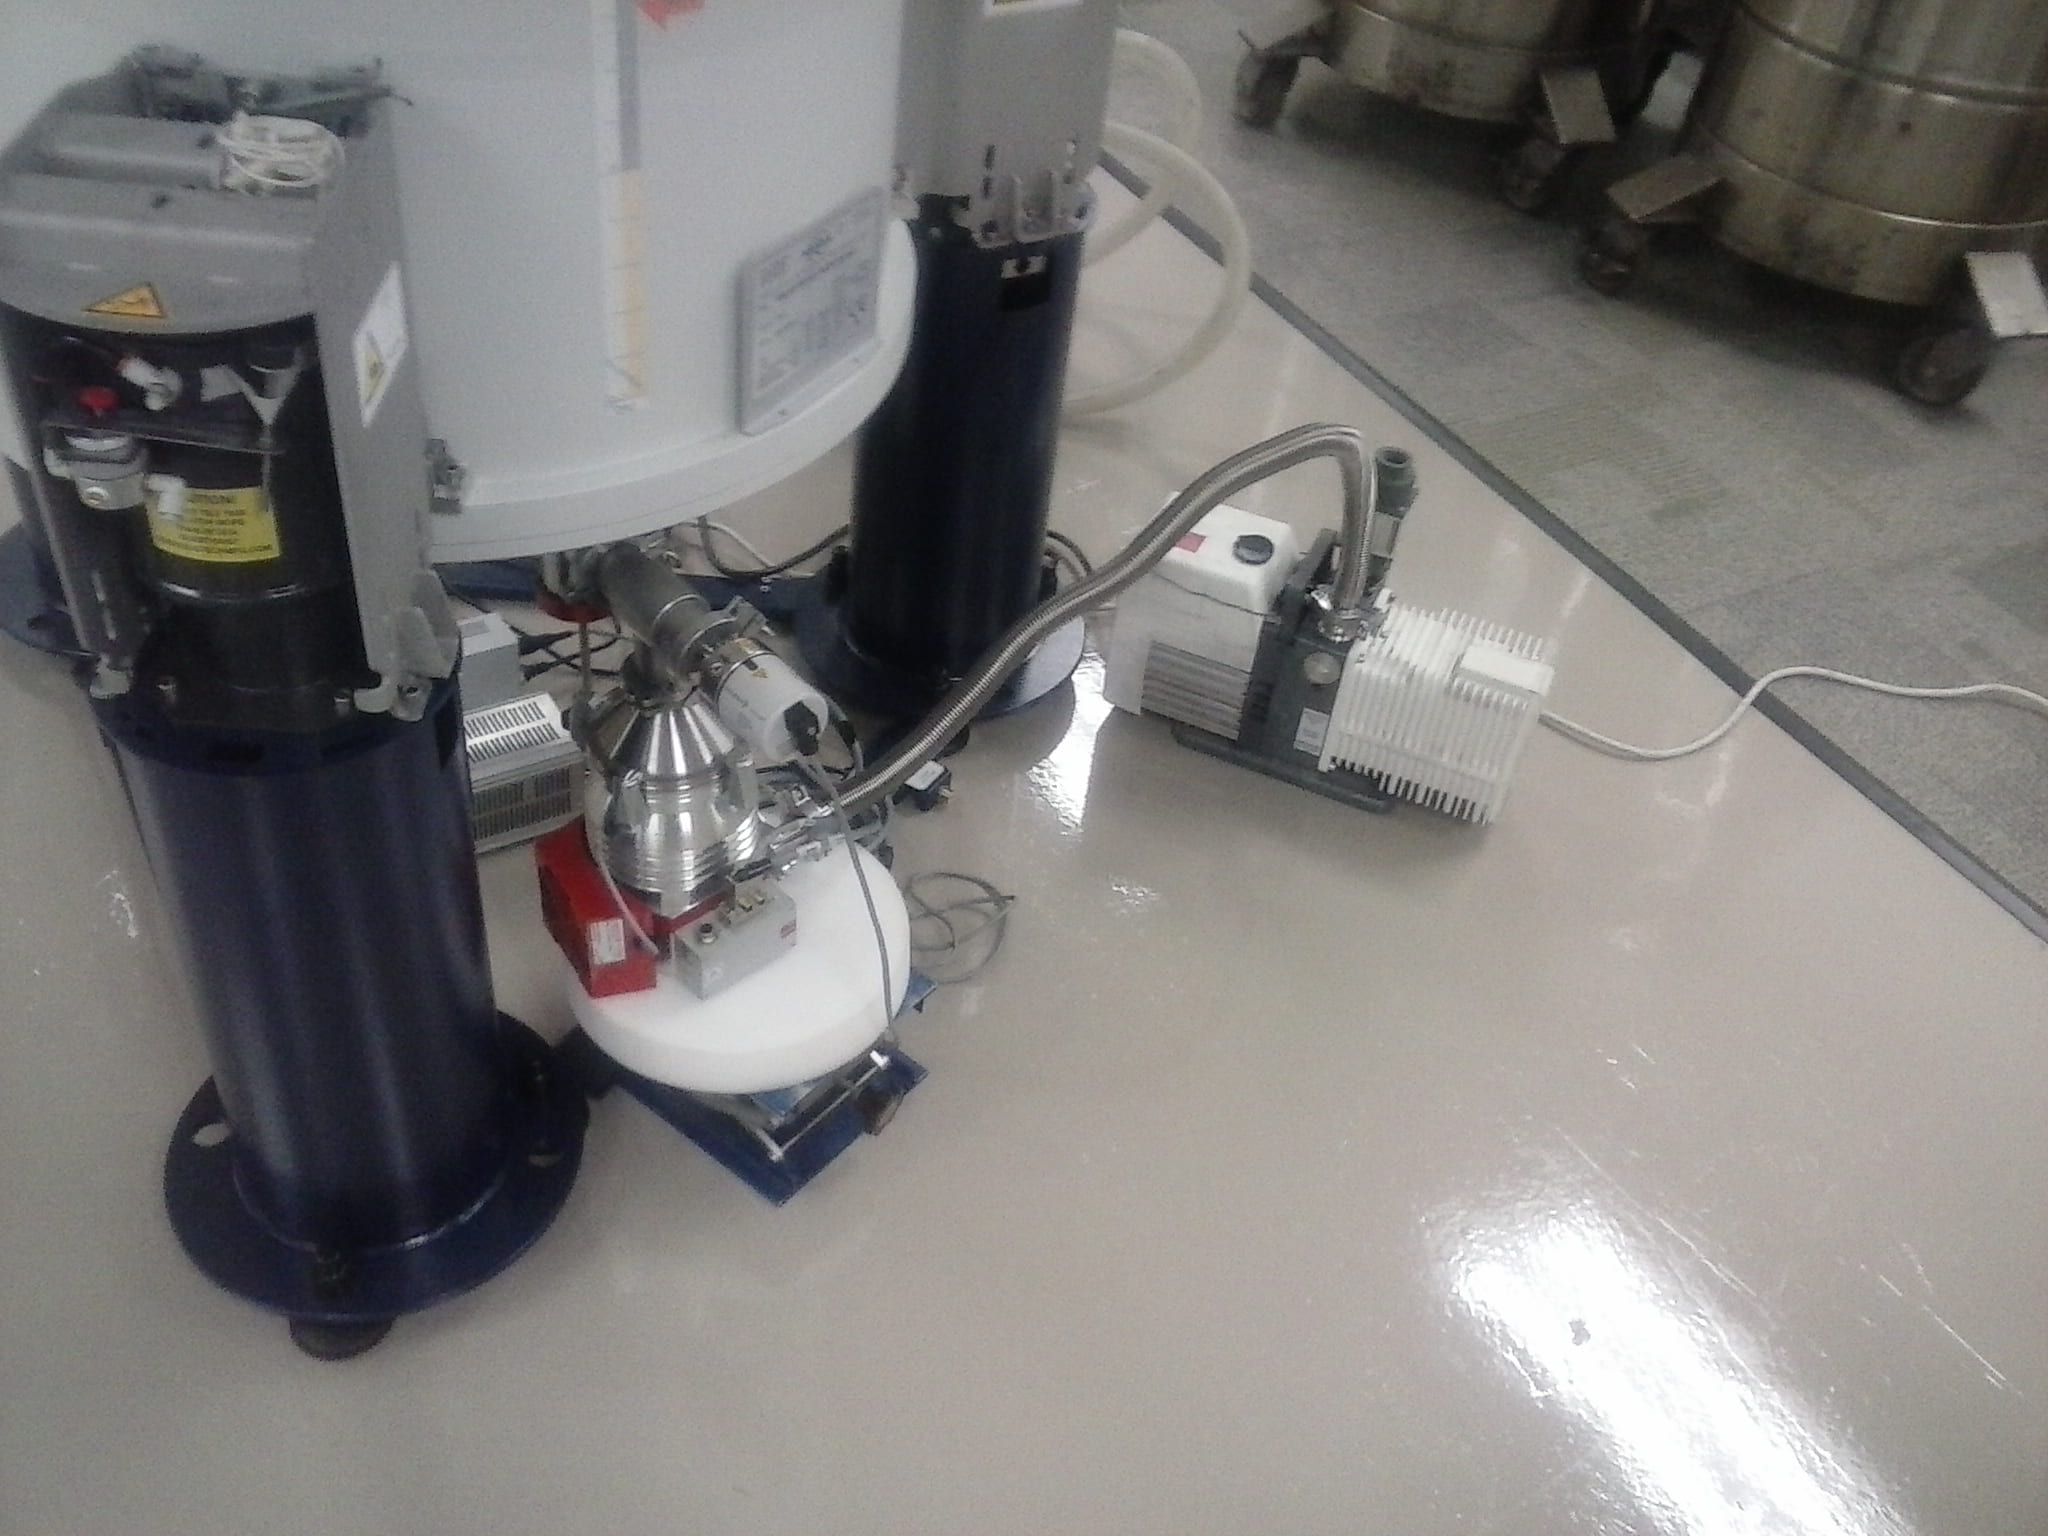
Pumping the vacuum to insulate the liquid Helium and liquid nitrogen cans.

Starting the cooldown. Liquid nitrogen first, then liquid helium.

Liquid Nitrogen enters the Helium port.

Power supply is used to charge the magnet.
15 A at 50 mV require very thick cables.